
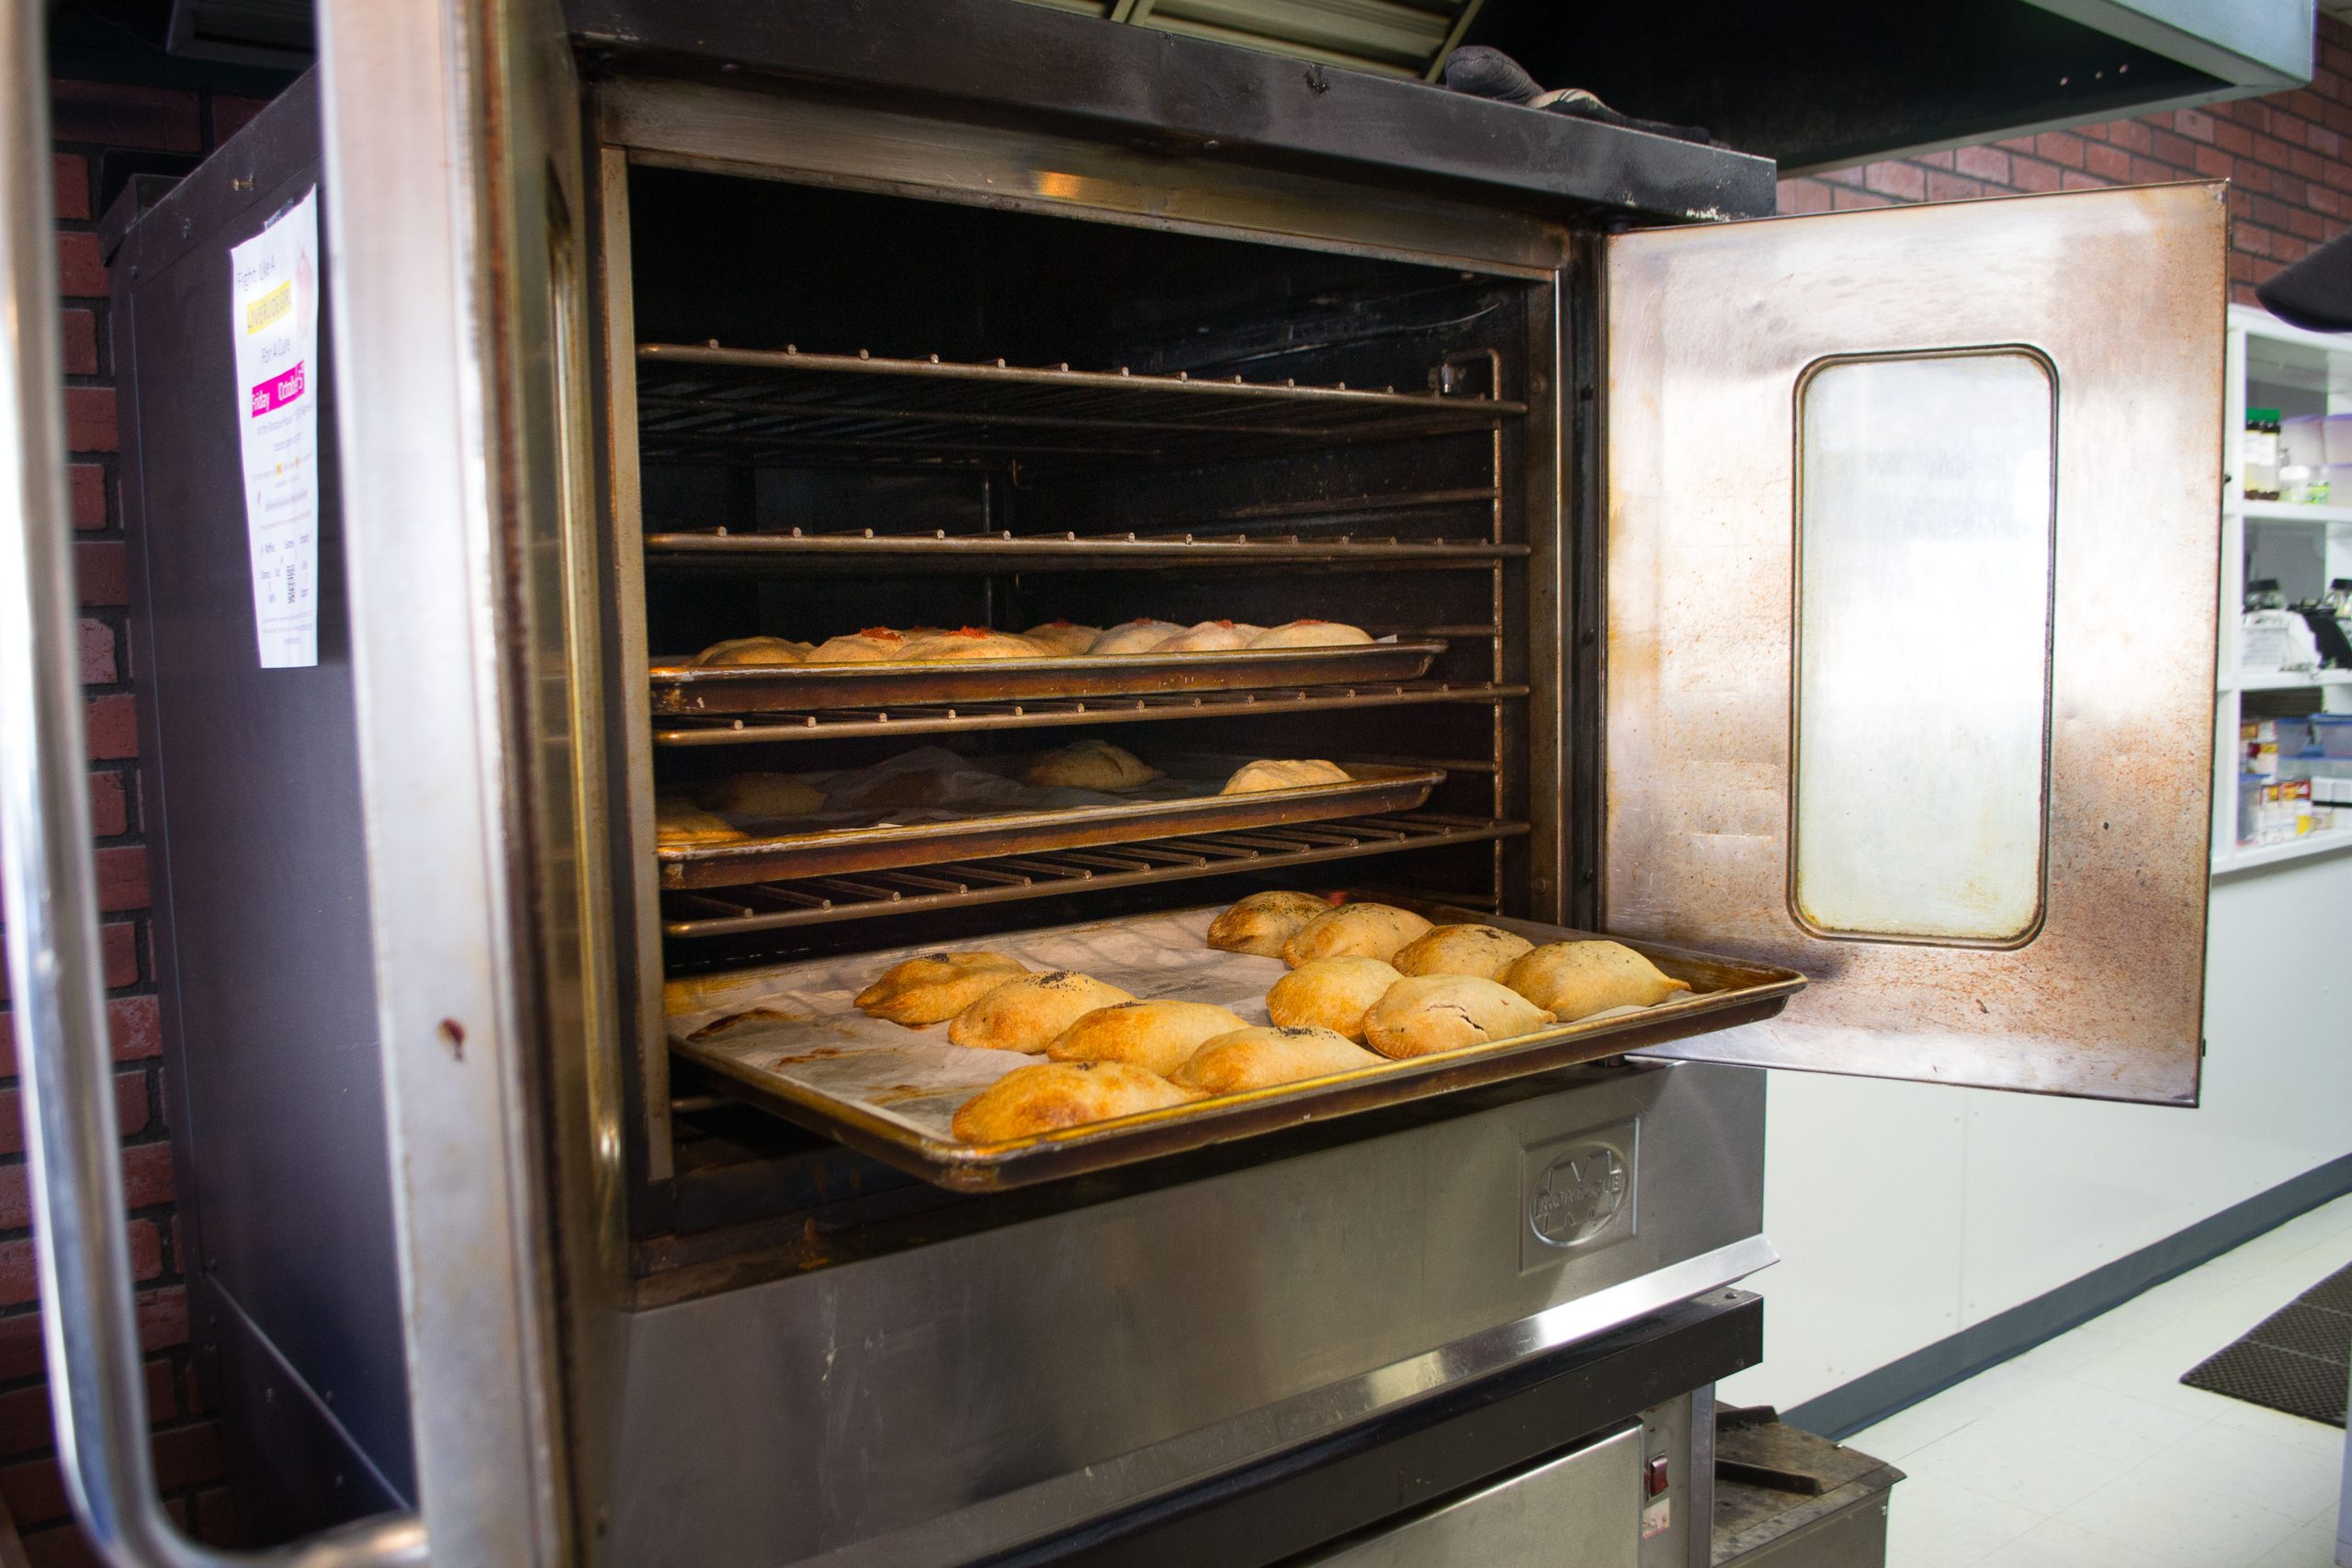
The door seal on your oven is easy to overlook. It is a simple strip of heat-resistant material around the door frame, yet it does a vital job: it keeps hot air inside the cavity so food cooks evenly and efficiently. When the seal wears, flattens, cracks, or pulls loose, heat escapes, cooking times lengthen, and the area around the oven can become surprisingly hot. Learning to recognise the signs, check the seal properly, and carry out a simple fix can save energy, improve results, and prevent a small problem from turning into a larger one. Plain-language maintenance advice from ovendown is a useful starting point if you have never inspected a seal before.
What a door seal does
An oven seal, sometimes called a gasket, fills the gap between the door and the body of the oven. When the door closes, the seal compresses slightly and forms a barrier against heat loss. That barrier matters for several reasons. It helps the oven reach its set temperature and hold it steadily, it protects nearby cabinetry and worktops from excess heat, and it keeps cooking more predictable, because less heat is lost each time the thermostat cycles. A good seal also reduces the work the heating elements or burner must do, which can lower energy use over time.
Signs that heat is escaping
The most obvious sign of a failing seal is food that takes longer to cook, especially near the front of the oven. If the back of a tray browns well while the front stays pale, or if a dish that once cooked in forty minutes now needs fifty, heat loss at the door is a likely suspect. You may also notice that the oven exterior, the handle, or the surrounding cabinets feel hotter than usual, or that steam and cooking smells escape more strongly around the door than they used to.
Other signs are more visible. Look for gaps, cracks, tears, or flattened sections in the seal, and for areas where it has pulled away from its channel or clips. Grease and crumbs trapped in the seal can prevent it from closing evenly, so a dirty seal can behave like a damaged one. Condensation on the outside of the door, soot marks near the edges, or a door that no longer feels snug when it closes are also worth investigating. None of these signs alone proves the seal is at fault, but together they make a strong case for a closer check.
Simple checks you can do at home
Start with the oven completely cool and switched off. Open the door and run your fingers gently along the full length of the seal, feeling for tears, hard patches, gaps, or places where it has come loose. Look closely at the corners, because they are common failure points, and check that the seal sits evenly all the way round. Wipe away loose crumbs and grease with a damp cloth, but avoid pulling or stretching the seal while you clean it.
The paper test is a quick and useful check. Close the door on a thin piece of paper or a banknote at several points around the frame, then try to pull it out. If the paper slides out easily at one spot but is held firmly elsewhere, the seal is not compressing evenly there. Repeat the test at the top, bottom, and both sides, and note any weak spots. You can also hold your hand, carefully and at a safe distance, near the closed door while the oven is in use to feel for unusual heat escaping, although you should never touch hot surfaces and you should stop if anything feels unsafe.
Cleaning and simple fixes
Sometimes the fix is simply cleaning. Grease, sugar, and food residue can prevent the seal from sitting flat, so a gentle clean with warm water and a mild detergent, followed by a thorough dry, can restore a proper closure. Avoid abrasive pads, oven cleaners, and bleach on the seal itself, because harsh chemicals can degrade the material. If the seal has popped out of its channel in one place, you may be able to press it back carefully, provided it is not torn and the retaining clips or channel are intact.
If the seal is torn, brittle, or permanently flattened, replacement is the sensible option. For many models, this is a straightforward DIY job: the old seal pulls out or unhooks, and the new one pushes into the same channel or clips. The critical step is ordering the correct part for your exact model number, which is usually on a label inside the door frame. Compare the new seal with the old one before fitting it, check that any clips align, and avoid stretching it during fitting. After fitting, close the door and repeat the paper test to confirm an even grip all round.
Keeping your seal in good shape
Good habits extend the life of a seal. Wipe spills from the seal area after cooking, once the oven is cool, rather than letting grease bake on repeatedly. Avoid slamming the door, hanging heavy items from the handle, or using the open door as a shelf. When cleaning the oven, keep harsh cleaners away from the seal, and do not use a steam cleaner directly on it unless your manual says that is safe. A quick visual check every few months will catch wear early, when replacement is still simple.
A door seal may be small, but its effect on cooking is large. Heat loss wastes energy, lengthens cooking times, and makes results less predictable, all because of a strip that is easy to inspect and often easy to replace. By recognising the signs, carrying out the paper test, cleaning gently, and fitting the correct replacement when needed, you can restore your oven to efficient, even cooking. For further step-by-step guidance on seals and other common oven parts, the resources at ovendown.org can help you approach the job with confidence and care.
